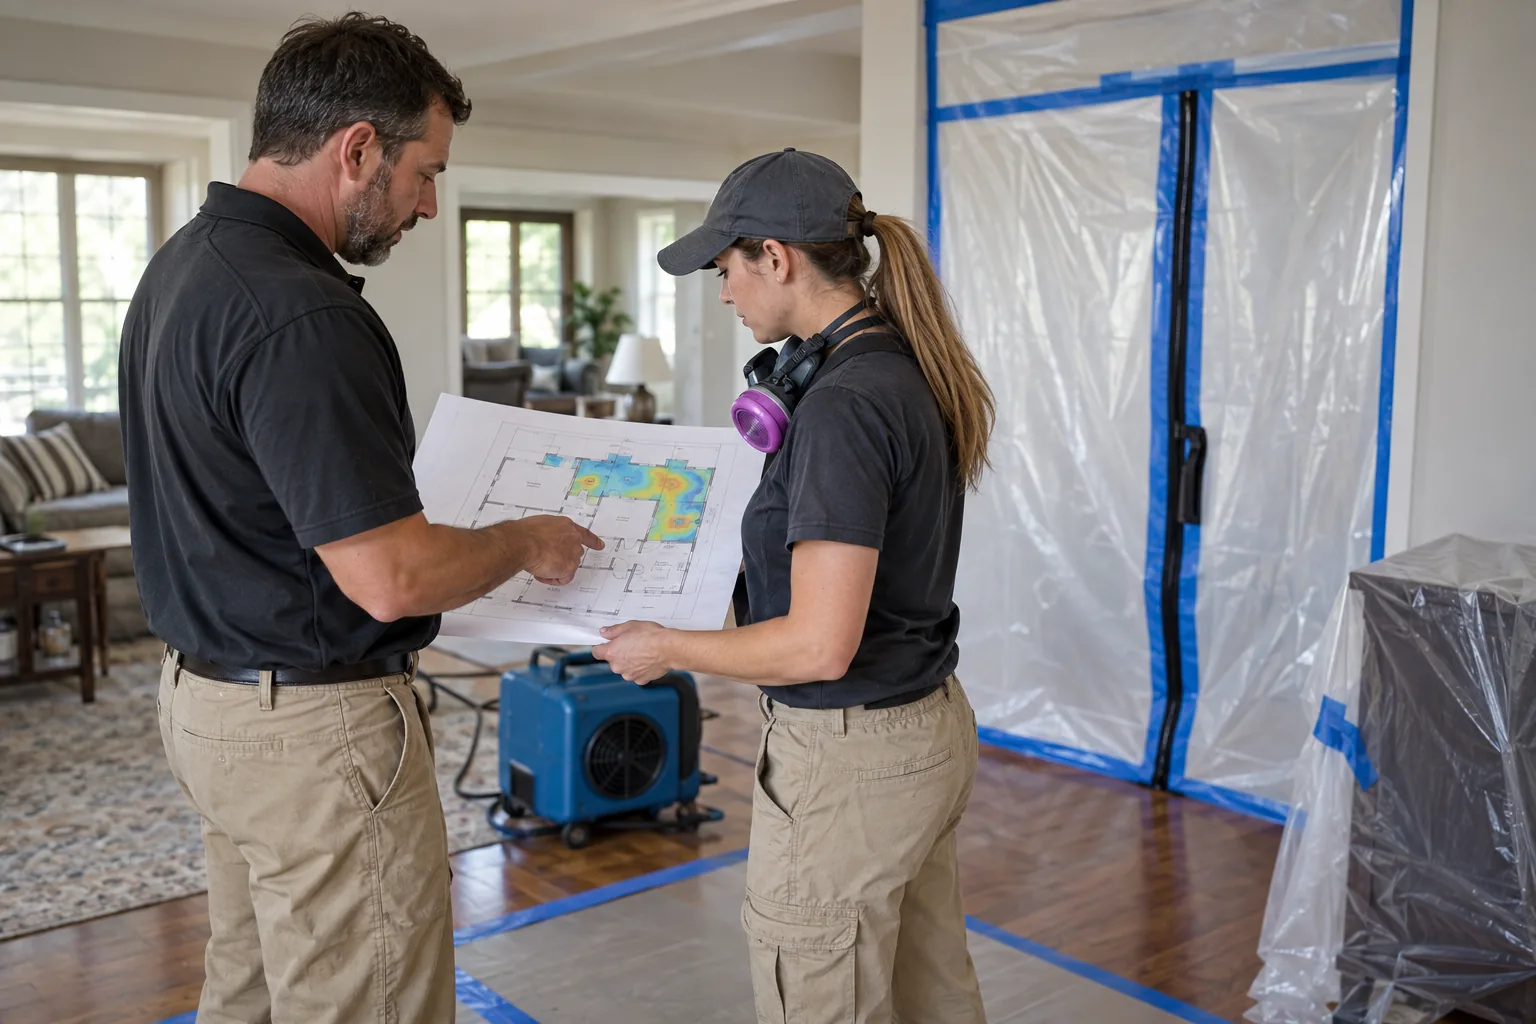
1. Define the problem
For a Jackson, Tennessee home or business, record the moisture event, visible and suspected hidden areas, affected materials, occupant concerns, HVAC pathways, and accessibility. Sampling is optional and should answer a specific question.
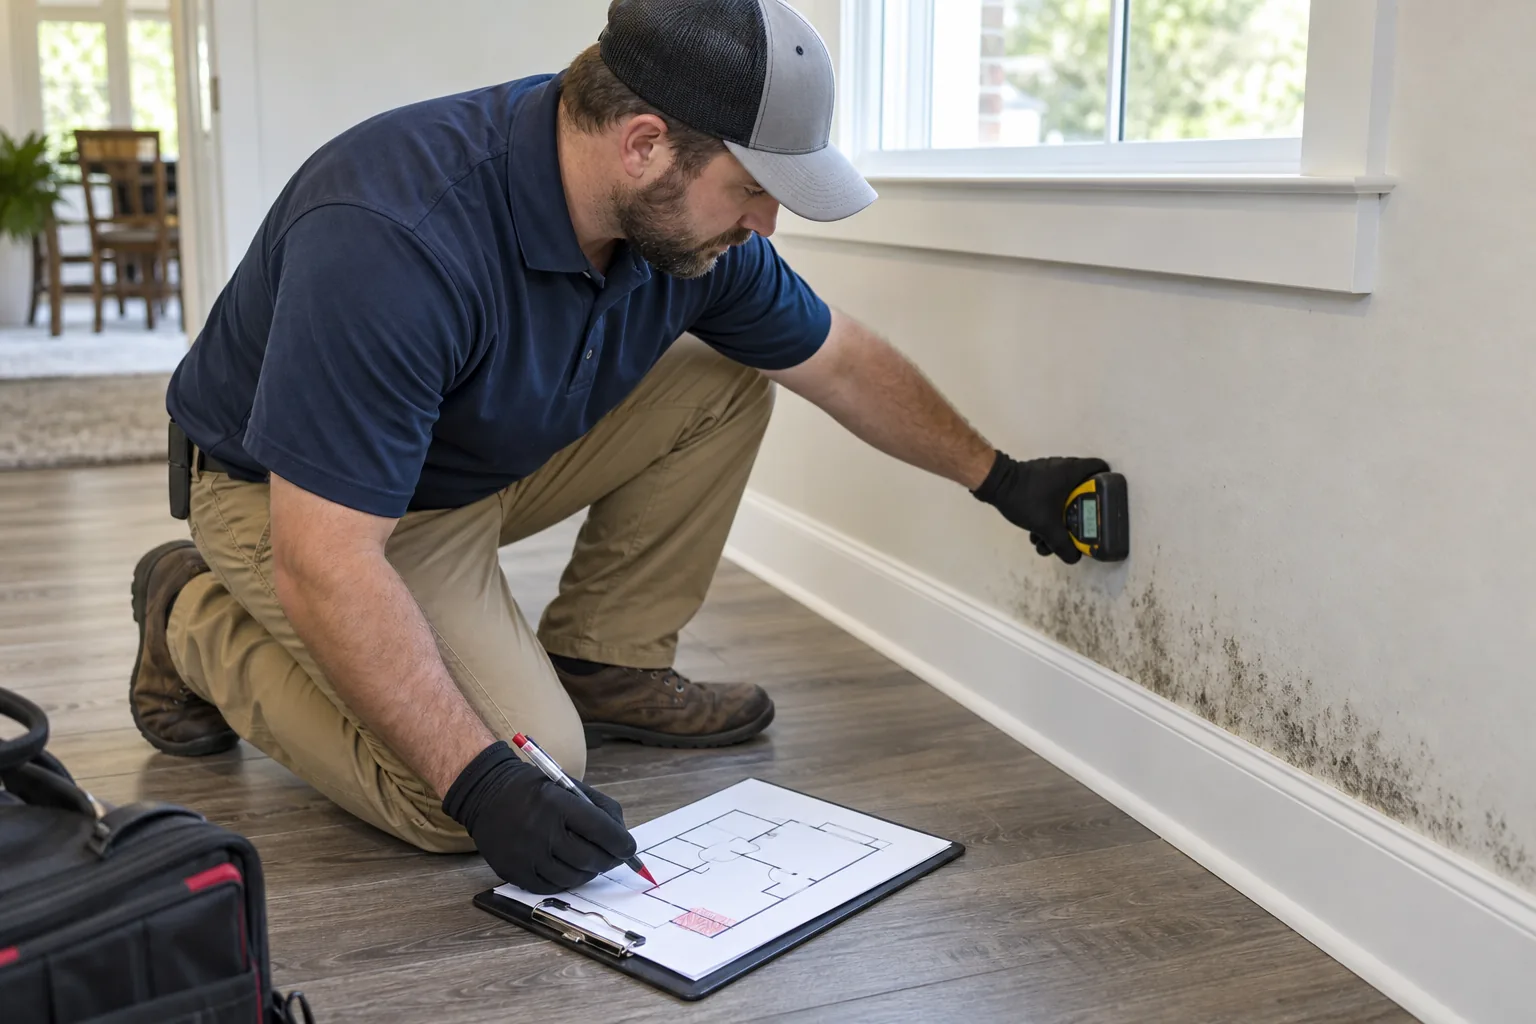
2. Correct the moisture source
Stop plumbing, roof, drainage, condensation, or humidity problems. Temporary controls may begin immediately, but final repair responsibility belongs in the scope.
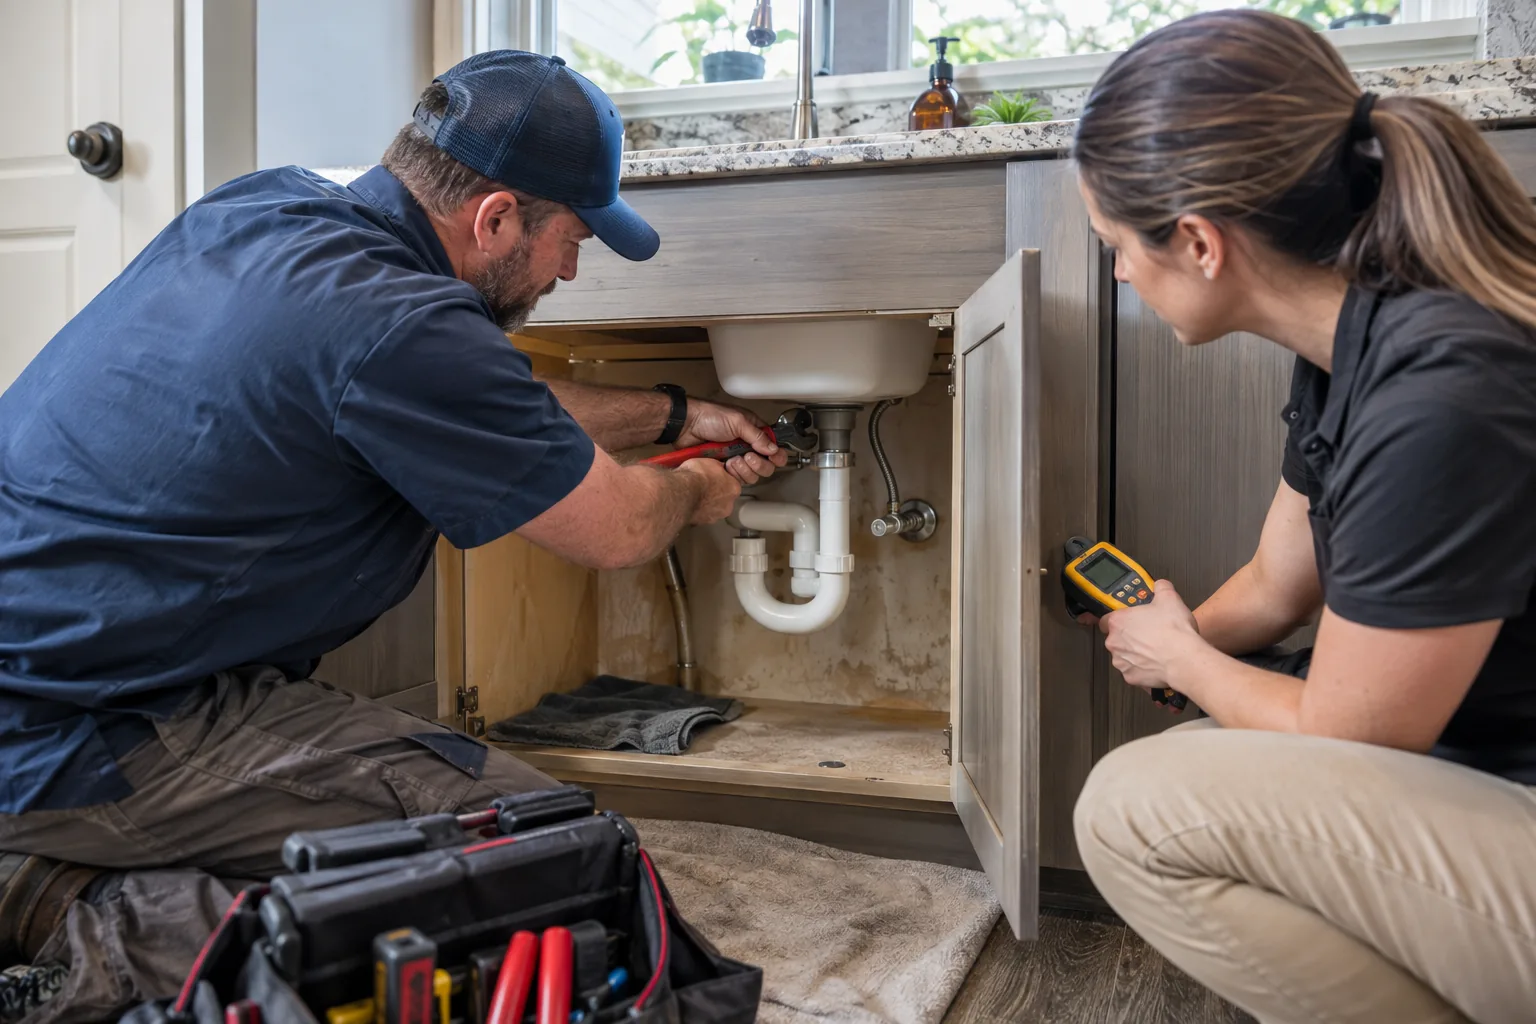
3. Protect clean areas
Establish containment appropriate to the size and disturbance. Isolate HVAC openings, control entry, and create a route for bagged debris that does not cross unprotected occupied space.
4. Remove, clean, and dry
Discard unsalvageable porous material; physically clean salvageable surfaces; capture fine debris with HEPA methods; and dry the assembly. A chemical treatment is not a replacement for these steps.
5. Verify before rebuilding
Check source correction, visual cleanliness, odor, dryness, and project-specific verification criteria. Keep containment in place until the agreed inspection is complete.
6. Restore and monitor
Repair the assembly, return HVAC and rooms to service, and revisit moisture-prone areas after rain, cooling-season operation, or normal occupancy. A maintenance check is more useful than a promise that mold can never return.
Sources and standards
Editorial guidance on this page is based on current public-health and contractor resources. A property-specific scope still requires an on-site assessment.